"A man, a plan, a canal, Panama"
Like I said in my Facebook post...it starts with a vision and then becomes a reality.
 |
| by Kalaya Steede |
I am sure this happens to most of you. Friends and family just hand you stuff and say, can you make something out of this?
Sure...because I have the power!!! Hahaha!!!
In reality the object can, and will, and HAS sat on my bench for months, sometimes years until inspiration strikes.
My inspiration was my friend, Tysheena, turning 30 years old.
At first I was given a guitar pick that she is currently using but me being all sentimental and stuff asked for something a little more personal.
I said...How about giving me you very FIRST guitar pick?
And so she did and it too sat on my bench for about a year.
When I make a piece I usually start off with a plan and try to visualize how the piece is going to look like and make some notes. I decided that I was going to get out of my way and just do it!
 |
| The Plan |
Now comes execution...
Sometimes the plan changes.
It does not happen often because I can really make more work for myself if I change midway without thinking it through but these were minor changes.
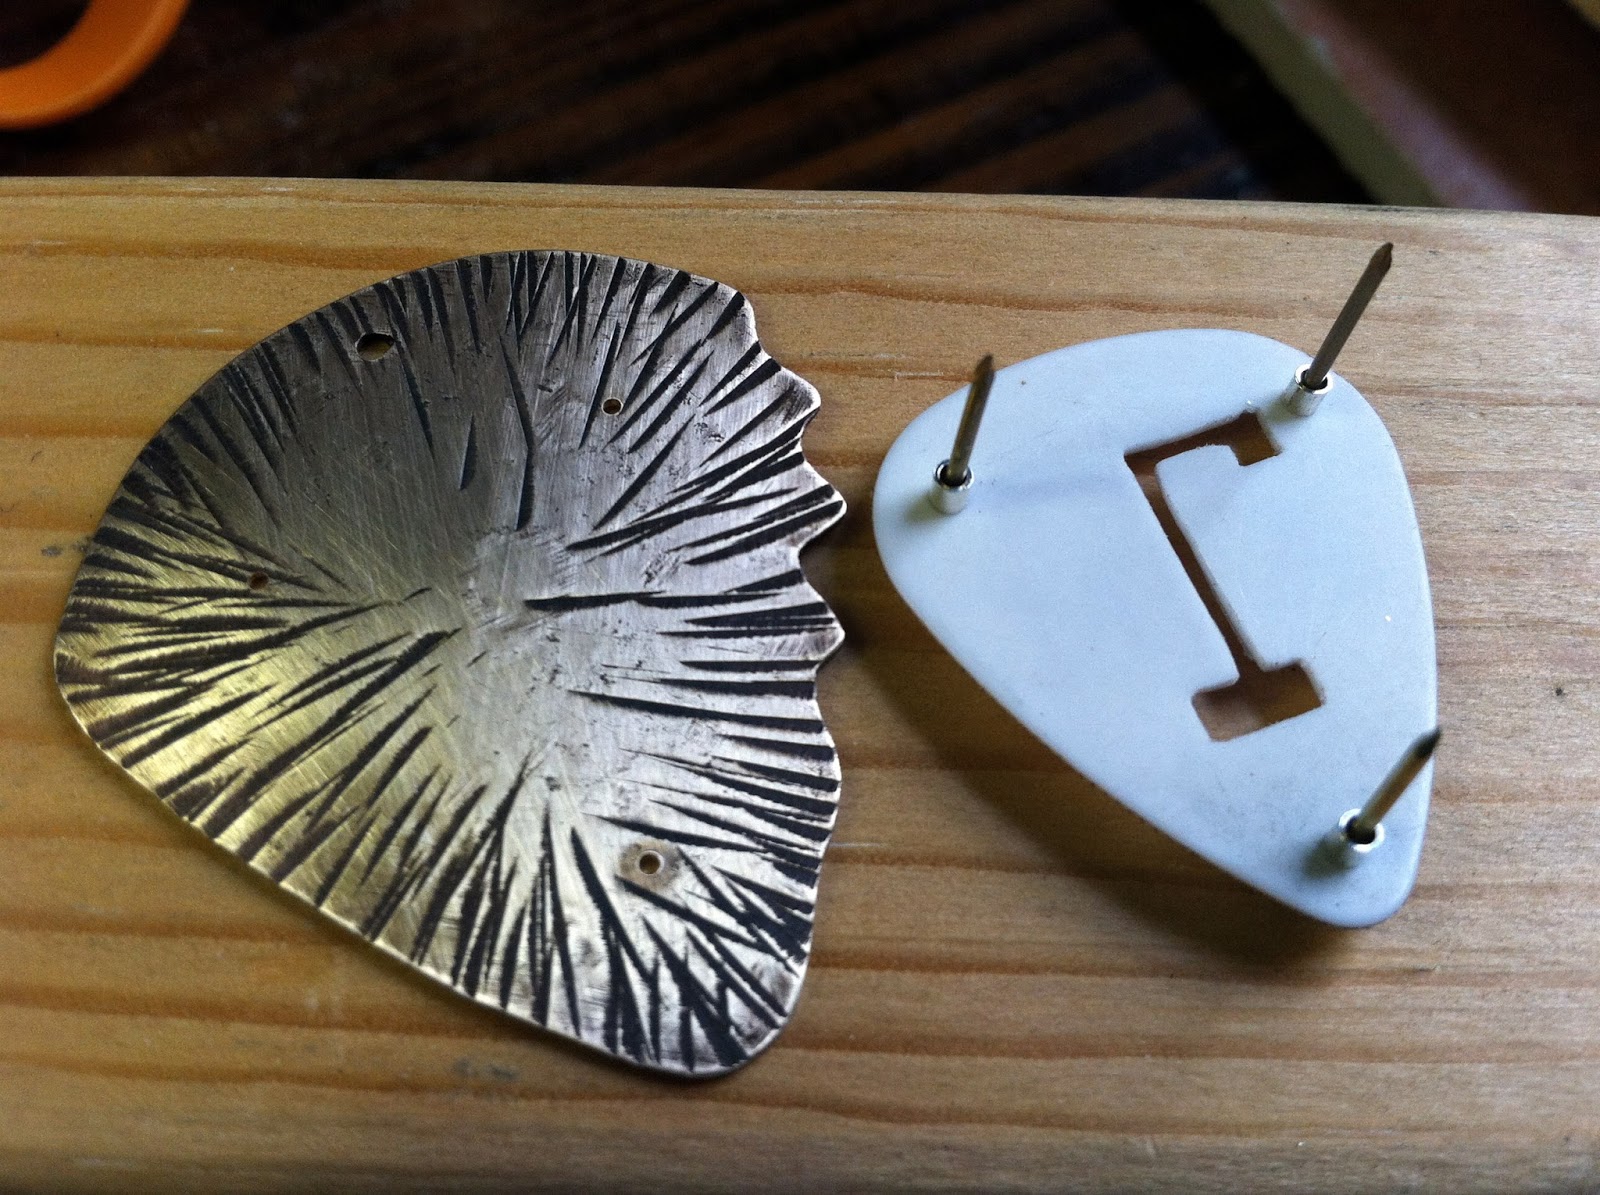
For example, I decided at the last minute to cut that "T" out of the pick and instead of riveting straight on to the metal I will add a spacer between the metal and the pick to give the piece some depth.
The picture below should give you an idea about how big the pick is.
 |
| My trustee old bench pin. |
I also added texture to the outside of the pick and added a little color to it to make it pop out and age it a bit. I used brown shoe polish. That stuff is great!
 |
| Piercing the "T" |
Next is the metal, cut, file, and texture.
 |
| All cut out and ready to Rock! |
Do not ignore the back. The back side of a piece is just as important as the front. It says that the artist looked at every angle of the piece and loved every part of it. Hehehe!!!
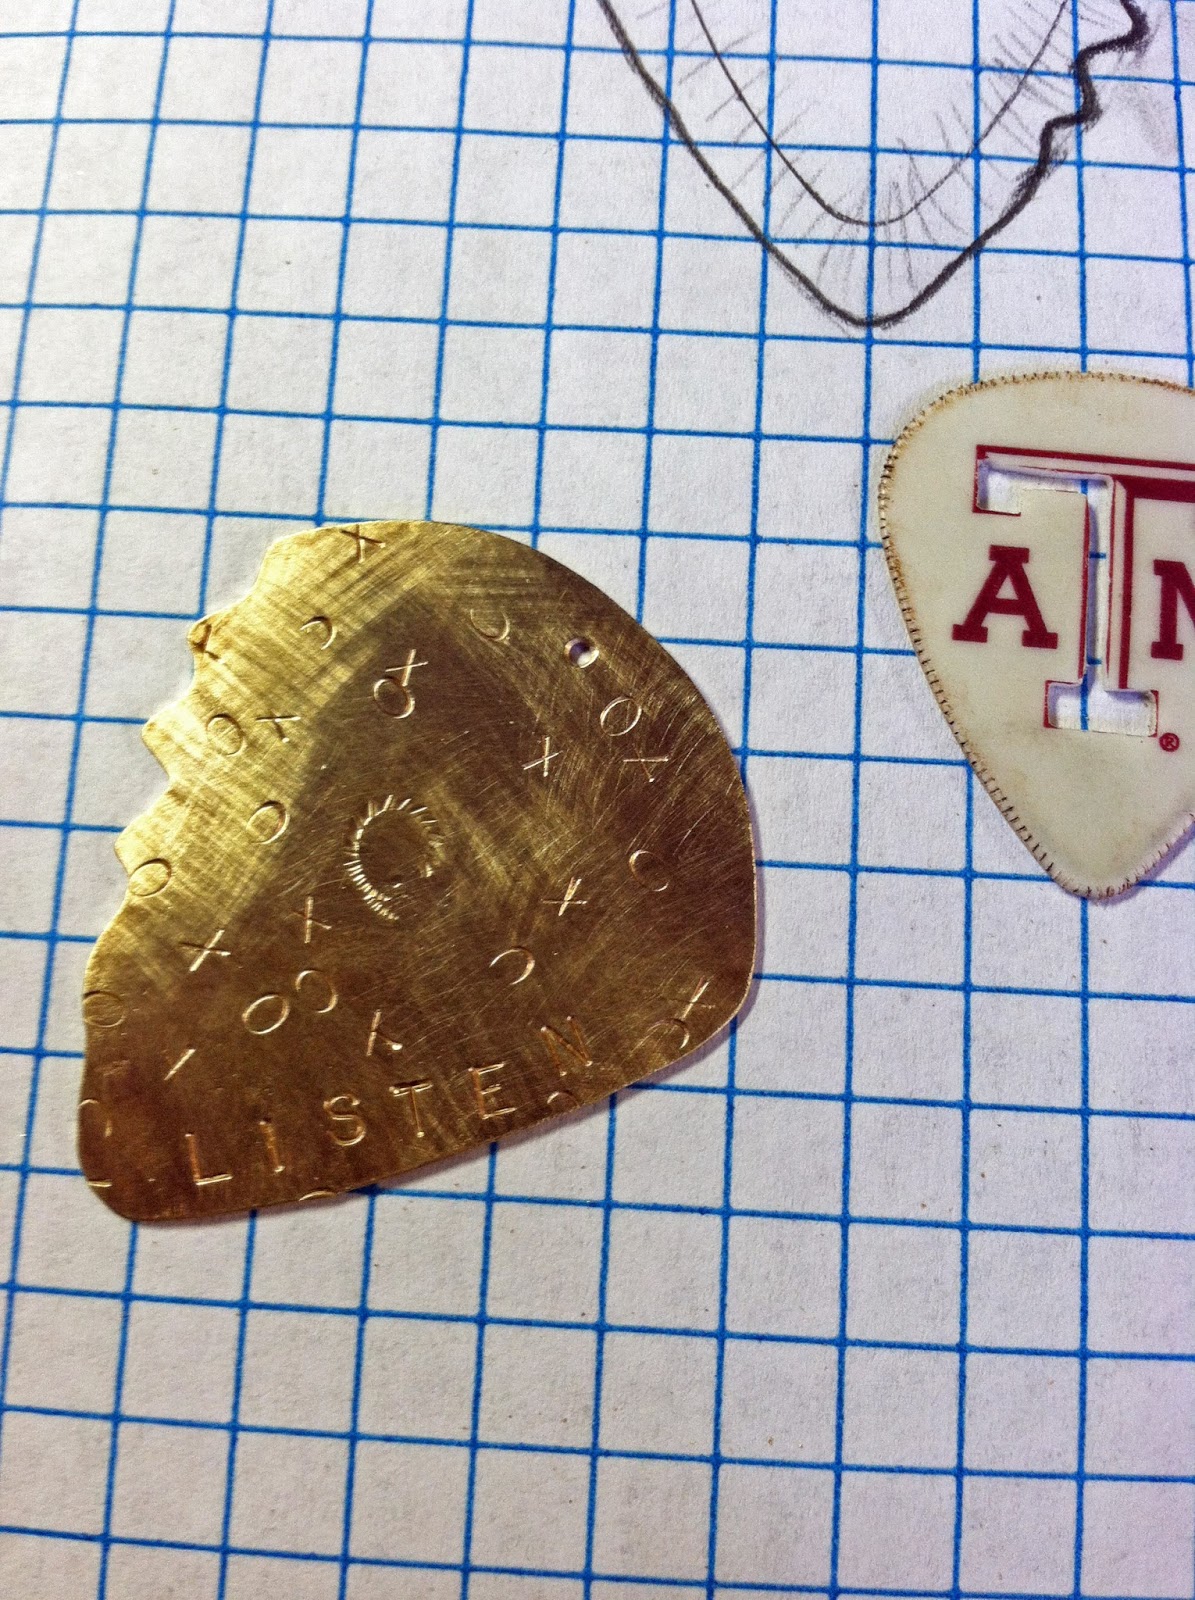 |
| X's and O's |
Once you are pleased with the filing and texture now it is time to patina and rivet. I cannot stress this enough. You must rivet one hole at a time, drill, place rivet (does not have to be set) and drill the next hole. If you do not do this your holes will not meet up. Usually I will drill and rivet in place and repeat but since there are spacers I cannot do that. Well, I could but that will make it a little challenging!
 |
| Keeping it all together |
 |
| Drilling very carefully |
Holes are drilled and Humpty Dumpty is ready to be put together.
 |
| Ready to Roll! |
Panama!
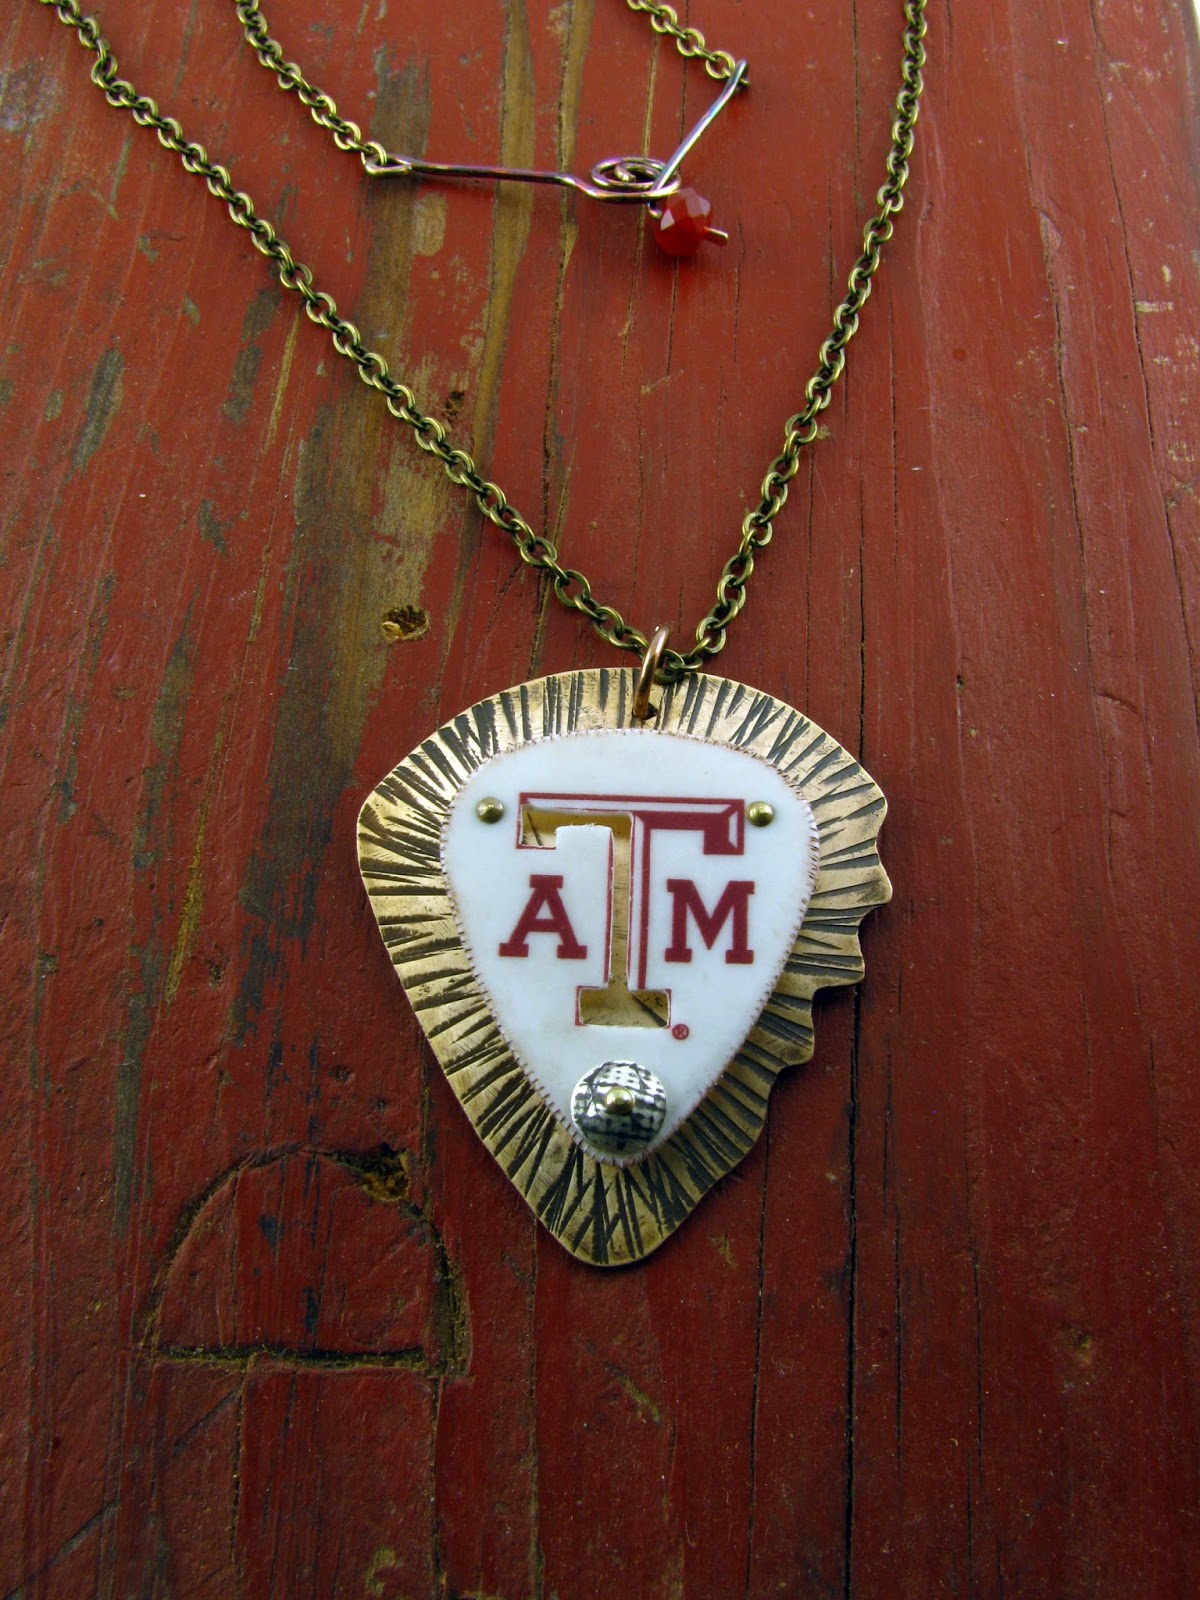
 |
| Voilà |
Backside...
 |
| Because I just cannot be ignored! |
Annnnd that is how the cookie crumbles people!
Hope everyone is enjoying their Friday and if you are in NOLA
a HOT
and
WHO DAT Friday!
ॐ
ॐ
Namaste
Kalaya
Kalaya
That's a great design. I love that you used the spacers and cut-out to give it depth. It's so much more interesting that way!
ReplyDeleteMerci beaucoup Libellula! I really like adding dimension if I can. See you soon! XO
Delete