Bonjour!
I have been on a ring making journey and in the past week I have probably made at least 7 rings! Would that count as a ring a day? HA!
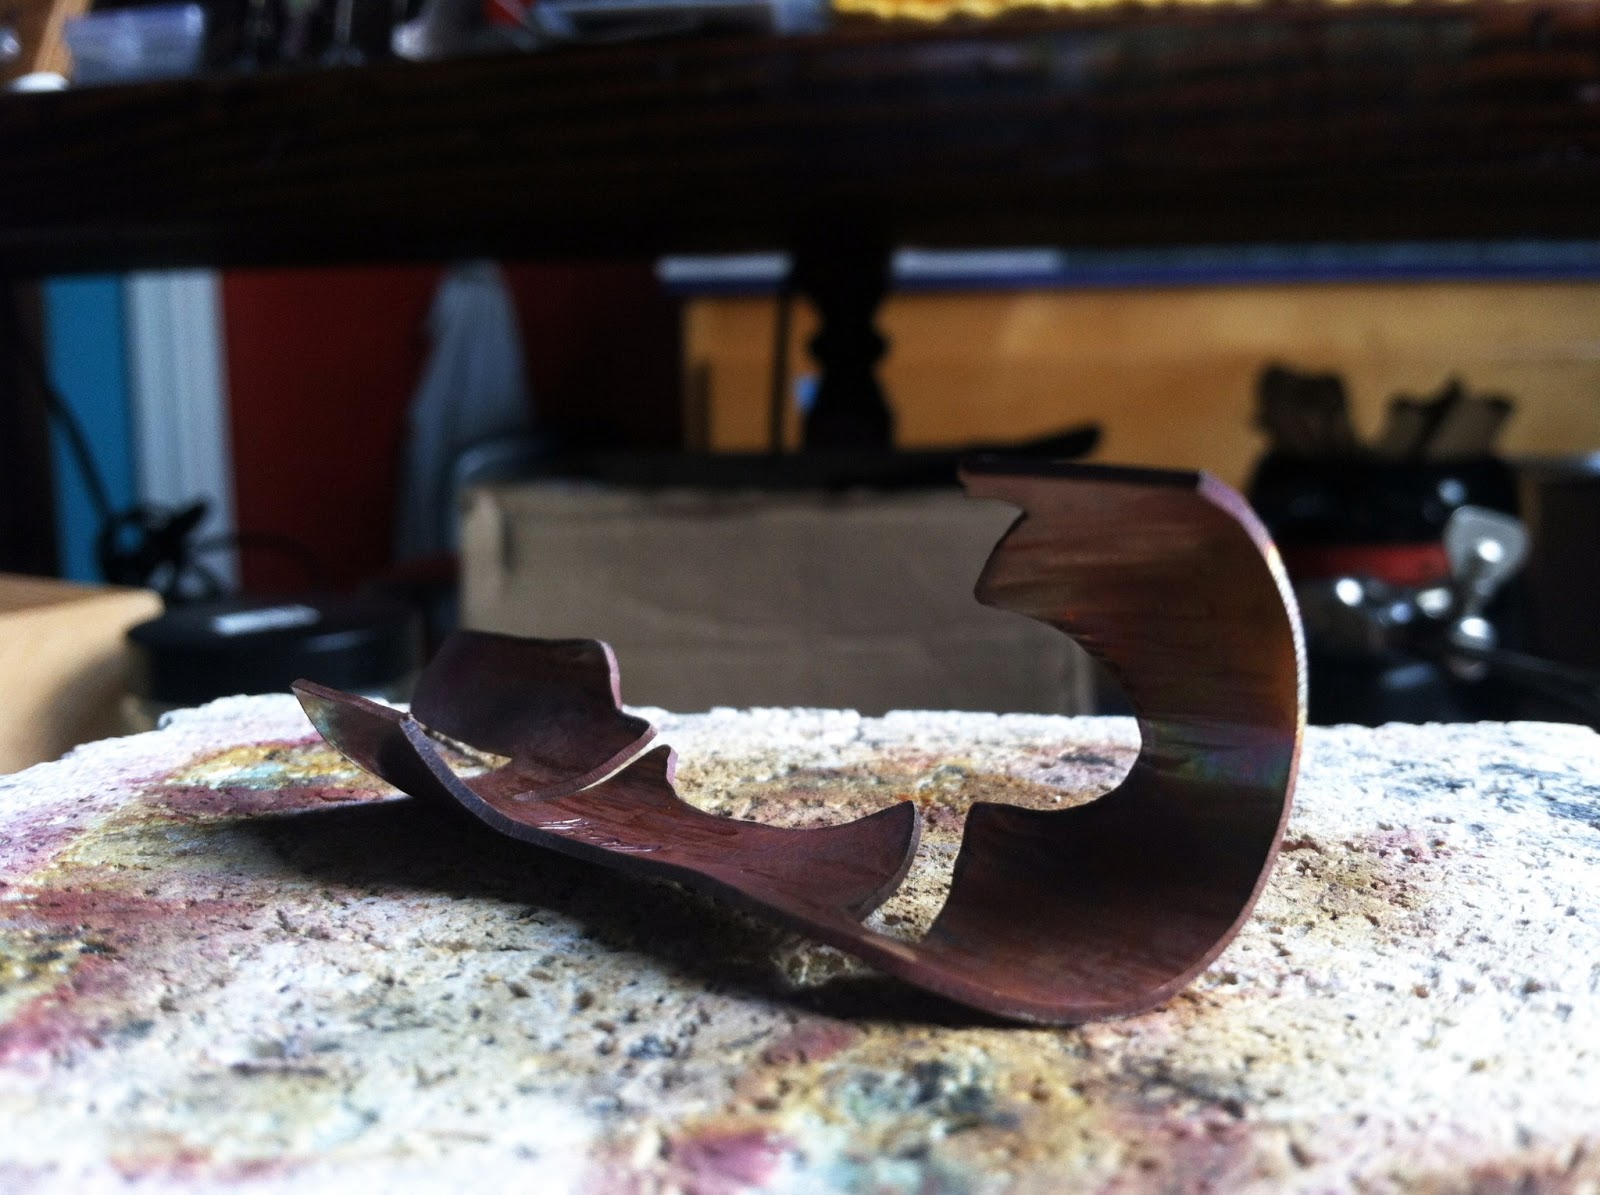
Anyway, my most favorite rings are anticlastic.
Anticlastic is defined in which the two principal curves bend in opposite directions, like a horse saddle.
Curves in the metal are so beautiful to look at and follow, kind of like our bodies. Have you ever lay there with your hand in front of your face and just follow the curves of your hand?
Absolutely beautiful!
Here is a ring that I recently made on commission.

Notice the gentle curves and feel how smooth they are.
Well this journey of anticlastic forming has led me to making my own anticlastic or sinusoidal forming stake. I was going to purchase one but why do that when you can make your own?
I started off with a block of rock hard maple (7/8" thick) and transferred a template a friend gave me.


After about 40 minutes I was able to saw off that corner curve. I then started sawing the opposite curve.
While I was sawing, my brain said, "STOP". The maple is too thick! The ring shank will not be able to slip over the ends.
I put the saw down and shouted all kinds of words which I will not share here. Hehehe!!!
It was time to eat lunch anyway and so I meditated on the subject while munching on beef panang. Yummmm.
It was time to eat lunch anyway and so I meditated on the subject while munching on beef panang. Yummmm.
I got back to work and decided to make the forming stake out of Faux Bone.
Remember Faux bone?
Remember Faux bone?
Talk about a better sawing experience. I was so relieved to saw Faux Bone after sawing maple.
So...saw, file, and then test.
 The Faux Bone worked fairly nicely. I was able to form that ring there in the picture. I will give the handcrafted Faux Bone anticlastic forming stake a rating of ★★★ out of 5 stars.
Why three?
So...saw, file, and then test.

Why three?
Well, I would have given it 4 stars but when I formed the ring the metal was able to make tiny marks in the Faux Bone. Which means it is not holding the metal steady but instead the metal is moving into the Faux bone upon each strike.


I have got to admit that making your own tools can be frustrating at times but when you make a tool that works, it is absolutely AMAZING!
What experiences have you all had in making tools?

I did form some metal using the maple and the results were ★★★★★
Yep...that is 5 stars people!
The wood stood up to the banging of this metal and did not mar the wood one bit.
All this maple needs is to be ripped down to about 1/2" thick and I will be good to go!I have got to admit that making your own tools can be frustrating at times but when you make a tool that works, it is absolutely AMAZING!
What experiences have you all had in making tools?
ॐ
Namaste
Kalaya
Kalaya
Awesome little demo!And you have reminded me to order some that faux bone and do some experimenting too..are you all burning up down there? It's hot up here!! xo!
ReplyDeleteHi Stacie! Yes we are hot but I think it's been worse. We've been getting more rain this year. Yay! As long as we don't flood. I heard there is good rock hounding territory where you are at. Watch out! I may go visit you. :) xoxoxo
ReplyDelete